Those who’ve read Crafty Christmas Gifts – Part 1 will already know how to make four great DIY Christmas gifts for those special guys and gals in your life. This section focuses on making some crafty presents for the little ones.
All little Ones:
1. Art Supply Bucket
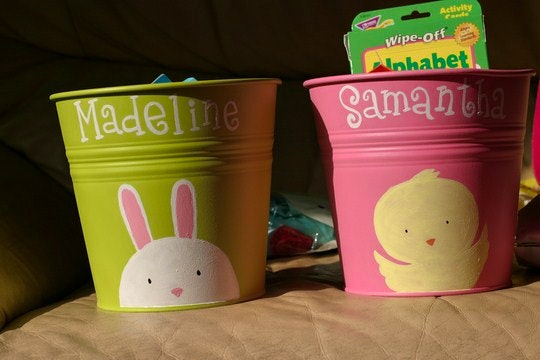
Children love to draw, scribble, paint, and doodle, but to every mum’s utter frustration they just don’t keep them together in the cute, but tiny pencil bag. Save her or yourself a headache, and let the kids have a ball with this super arty alternative.
Materials:
Old Paint bucket or fairly large bucket
Canvas or fairly durable fabric like denim
Sewing kit
Glue
Small decoration items according to gender (eg: Barbie stickers, car stickers, fabric paint)
Patience
Directions:
Make sure the old bucket is clean, and measure the fabric or canvas around its exterior. Cut a circle large enough for the bottom of the bucket, and glue this on. Cover the exterior sides with fabric as well, and glue from the rim of the bucket to the base.
Use more fabric to line the interior of the bucket, but hold off on gluing it – you’ll want to sew a few little pockets on the inside fabric first. This is so items like crayons, scissors, and paint brushes can be stored. Once that’s done, glue the now pocketed fabric to the interior. You may want to have a separate fabric circle for the interior base.
You can also glue a strap of excess fabric over the top of the covered paint can so the little one(s) can carry it around. Now go crazy and decorate the fabric to make it look more attractive. Fill with a couple of art supplies, stick a colouring book or blank workbook into the bucket, and voila!
2. Glitter Playdough
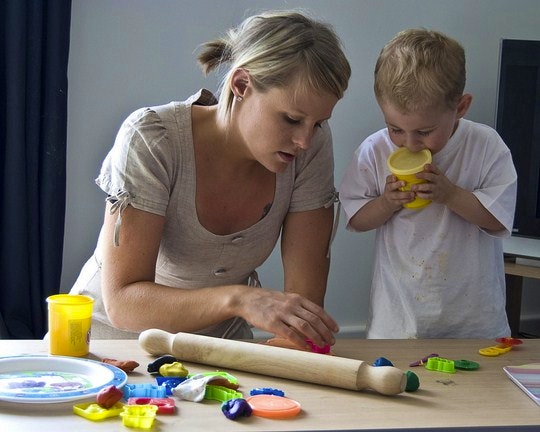
Kids of all ages love playdough, and they’re a great stress reliever for adults too. Spruce up the normal dull colouring by giving them a glitter makeover, with blue for boys, and pink for girls, or any other funky theme you decide on.
Materials:
2 cups flour
1 cup salt
2 cups water
1 Tablespoon oil
1 teaspoon cream of tartar
Saucepan
Food colouring
Glitter
Directions:
Pour several drops of food colouring into the water. Add the oil to the saucepan and then put in the flour, salt, cream of tartar, and water, and cook this over a medium-high heat, stirring constantly until it turns into playdough. Put playdough onto a cutting board, and when it’s cool enough, kneed it and add in the glitter. Kneed the glitter in, and then place it in an airtight container. Store in a fridge to make it last longer.
For Girls:
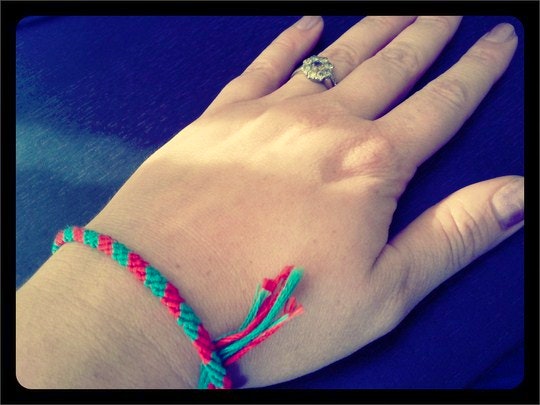
3. Friendship Bracelet Kit
Materials:
One box or tin
A childrens clipboard slightly larger than the box / tin
Glue
A variety of colourful wool threads
Cardboard
Small scissors
Stickers
Directions:
Glue the back of the clipboard over the box / tin. Make sure the clipboards clip can still open and close. Unwind numerous loops of the different wools and cut. Re-wind these over small segments of cardboard to make a wool reel (you can cut the cardboard either into strips or into bobbin shapes). Place these mini wool reels into the tin or box, and use more cardboard to make dividers for the different colours. Glue the dividers in place. Place the small scissors into the box. Decorate the clipboard and box as you please.
For Guys:
4. Plastic Poppers
Boys love holding imaginary battles, so help them enjoy one with no damage to furniture by combining a sweet treat with an action shooter.
Materials
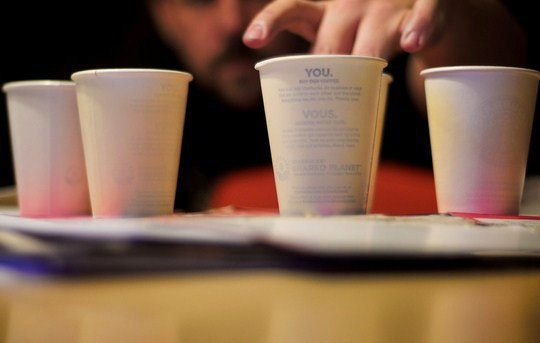
Small plastic cups or a medium sized yoghurt container
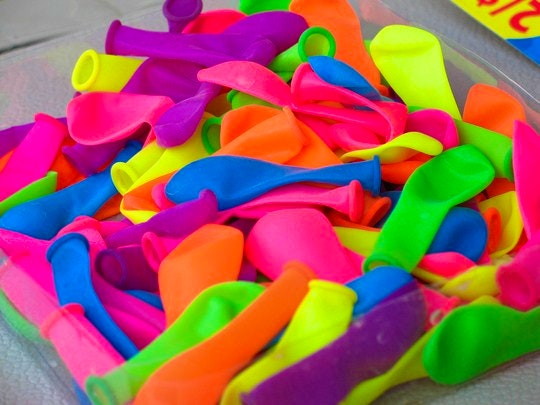
A pack of balloons (buy small ones if you’re using very small cups)
Scissors
Lots of scrunched up paper
Place two plastic cups inside each other (though if you’ve got fairly sturdy plastic cups or are using a yoghurt container, you can just use one). Cut the bottom section of the cups off, leaving a third of the cup / yoghurt container behind. Knot the bottom of a balloon, and then cut the tip of it off. Stretch this over the plastic cups lid / top of the yoghurt container.
Use: Place the scrunched up paper inside the centre of the cup, and hold the cup with fingers over the balloon base. Stretch back the knotted end of the balloon, and release. The paper will go flying.
Have any other fun crafty gifts for children you’d like to share? Feel free to post links to the ideas in the comments section below.
Main Image Courtesy of jmb_craftypickle (Flickr)

