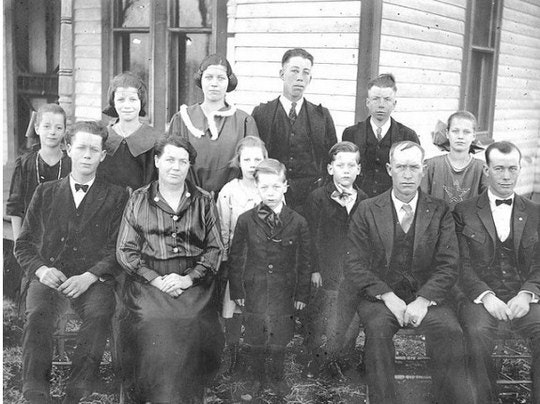
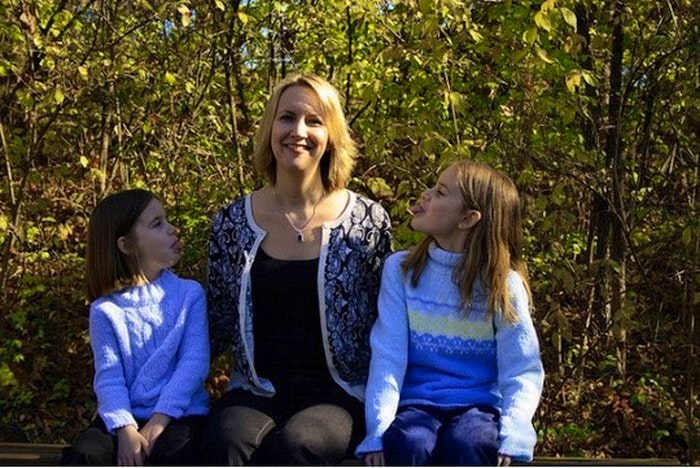
Everyone at some point or another has been asked to step in and take a group photo or two, of either tourists, children, friends, family, or the odd strangers in the park. It’s easy to just point and snap hoping for the best, but sometimes you want to add that little something extra to make it special – to give it that elusive je ne sais quoi. Pictures have changed through the centuries – now you don’t need those stiff, formal and unsmiling family portraits. Instead, creativity, fun and play are the norm nowadays.
You may have practised trying different methods and found some that work, and others that don’t for certain groups, so remember it’s up to you to decide which methods will be best suited for the group you have, and how long you can keep them posing for you:
1. Firstly, decide how you want to take the photograph. If there are only three to five people, a long shot works well (full-length if you want to show off the clothes or waist-up if some are worried about the jiggly bits). If there are more people – say five to ten – a wide shot works best. Your ultimate aim is to ensure that when someone views the photograph you’ve taken, their eyes travel over every face – so think of placing people in a semi-circle, or a triangle (two subjects sitting, three standing, etc). These shapes help draw the eye naturally across the photo.
2. In order for your picture to be a success, you need to make sure your subjects are relaxed and happy – but not as relaxed as Uncle Bob who has that tipsy smile and glazed look in his eyes for every Christmas photo. If you know – and even if you don’t know the subjects – strike up a conversation with them and try and banter back and forth. This takes their mind off the impending picture and will help set them at ease. Continue to talk as you shoot, and this way you’ll have a variety of images to choose from, where some shots are posed, and others aren’t.
3. In almost every first photo taken of me in a group, my eyes are closed or only half open. It’s ironic really as I always try to keep them open before the flash goes off, but it never really works. One of the ways you can avoid having someone look dozy is to get everyone to close their eyes, and on the count of three open them so you can snap that perfect wide-eyed, pearly toothed pic. Another way, mentioned in my previous post, is to use the burst mode on your camera – usually three successive pictures. That way at least one of the pictures should have everyone’s eyes open.
4. Dependent on what group you have and how well you know them, try and let the group photo capture the spirit of your subjects. A photograph of the rugby team at the bar won’t have as much impact as that same team playing on the field in all their glory (unless you’re aiming to sell the first picture to Die Son/The Voice and managed to get half the team with their eyes closed).
5. Look at your surroundings. Is the group photo being taken outdoors or indoors? Are there any props you can incorporate into your shot? Think of posing the group on a staircase, around a bench, in front of a tree, or have half of them sitting on a rock. The possibilities are endless, just use your imagination (unless you’re in a museum, in which case work on capturing wacky faces or poses vs touching the exhibits).
6. Check the clothing of your subjects, does someone look a bit out of place? If so, consider having them sit along side one or two others, and take the photo from everyone’s waist up (if the offending item is on their lower half); alternatively you could get the subject with the unique clothing choice to stand between people at the back or even behind someone sitting – this way their face is still showing but that garish, neon Hawaiian shirt isn’t. A unique approach would be to make the mismatched person the central figure, and have the others who are wearing neutral clothes placed around them – that way even though the central person stands out, the picture will appear more balanced than if they were off to the side.
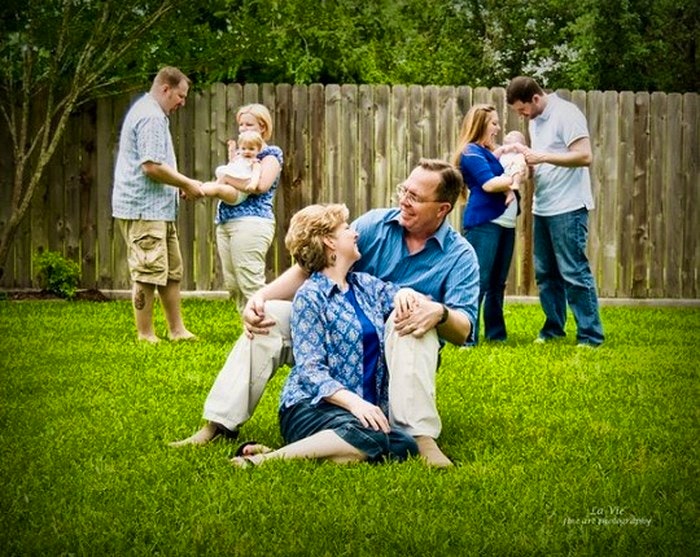
7. If children are involved in the picture, I wish you plenty of luck in keeping them still for extended periods of time. A nice way to keep the photograph looking natural is to put the children at the same height as the adults – be it the adults sit and the kids stand, or the adults stoop and little ones are held while hugged. Another fun pose to try if you’re outdoors is to get mom, dad and the kiddies to hold hands and run in a staggered line – this is a great way to capture the family having fun together (and a reminder to the kids in their teenage years that they used to love family outings).
8. If you’re shooting the photographs at someone’s house, skip posing them all on the couch and rather spread them out in the room, some sitting, some standing, and then grab a chair to get above them slightly and snap away. The shot will look less forced and more natural.
9. If you’re meant to be in the group shot, bring a tripod along (a gorilla tripod is handy to have as its small, versatile and sticks to most objects). This way you can set the camera on a timer and dash into the group before the picture is taken, after planning what your pose is going to be of course.
10. A fun trick to try if there are a lot of tall people in the group is to try and elevate yourself above everyone, and shoot down. This minimises the appearance of height, lets you capture all the faces and removes focus from the bodies, as well as allowing you to fit more people in the shot while still remaining close to the group.
Tips:
* Make everyone raise their chin slightly – they’ll thank you later when that tiny bit of lower chin flab isn’t in the shot you took.
* If each person can see the camera, then they can rest assured it will “see” them. If the group knows this in advance, you shouldn’t end up with a photo of the side of someone’s head as they’re chatting away to their comrade, blissfully unaware you’ve taken the shot (then again, sometimes people prefer the less posed and more natural pics).
* By all means, set up as many posed shots as you want, but also take a few sneaky ones inbetween – and you may find several that look more amazing than the ones you staged.
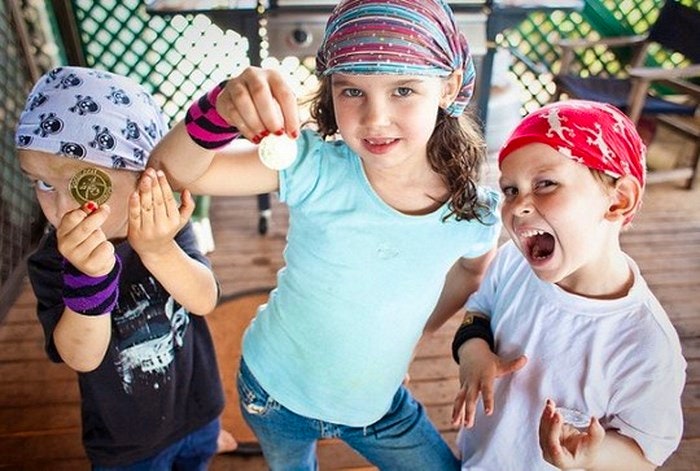
* Some of the funniest pictures taken are when everyone does an exaggerated pose or facial expression. Let the group play and figure this one out on their own, stepping in only if everyone starts looking a bit too much like Jeckyll and Hyde.
* If the group is only three people, with two of the same gender (ie: two girls, one guy), pose the “odd one out” in the middle, with the other two flanking them. This works well for odd-numbered groups, and also for those of varying heights.
* A slightly tilted angle can often add some “edge” to your pictures.
* If you’re looking for inspiration, a surprising source can be found at your local music store. Go in and browse some of the c.d covers of music groups, and note which poses look the best.
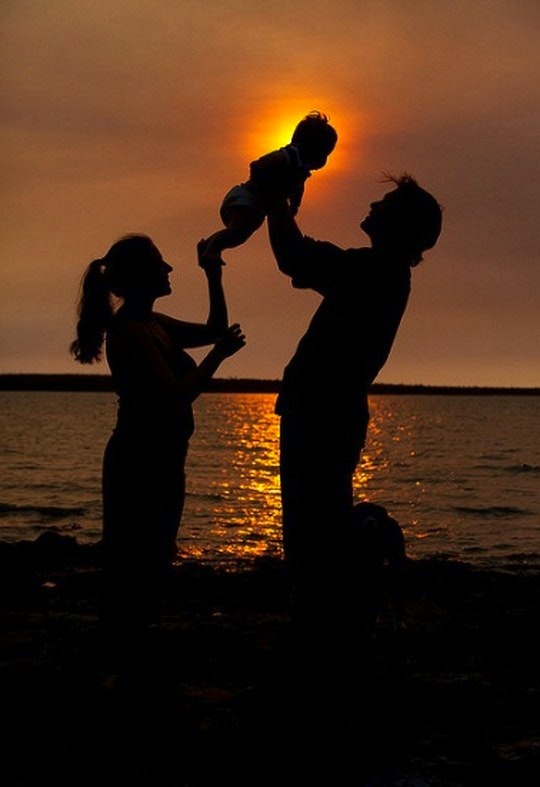
* For any photo, make certain the lighting is right. You don’t want to take the picture of a group with the sun behind them, ever. The absolutely only exception I can think of, is if you’r trying to go for a celestial go sans faces.
* Remember that as the photographer, you’re in charge, so don’t be shy to suggest alternate poses if the shots you’ve taken haven’t been great. Also, remember to always smile at the group – it sounds corny, but it’s effective at making the group smile back at you for more natural looking shots.
The above points are some suggestions to improve your odds of taking a few fantastic group photographs. Let us know if you have some of your own special tricks, or which ones from the above lists you’ve successfully used. Photography like art is subjective to each person’s view, so while you may hate the one that everyone loves, relax. Sometimes, the best pictures at the end of the day, are those taken when no one thinks you’re watching or capturing them. Either way, you’re likely to be hailed as the picture guru.

