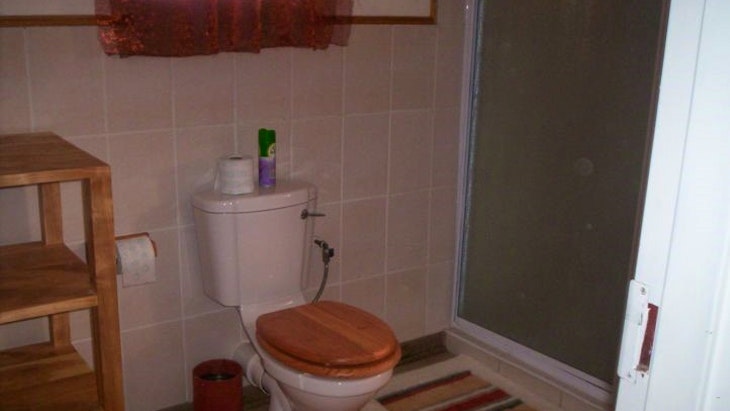
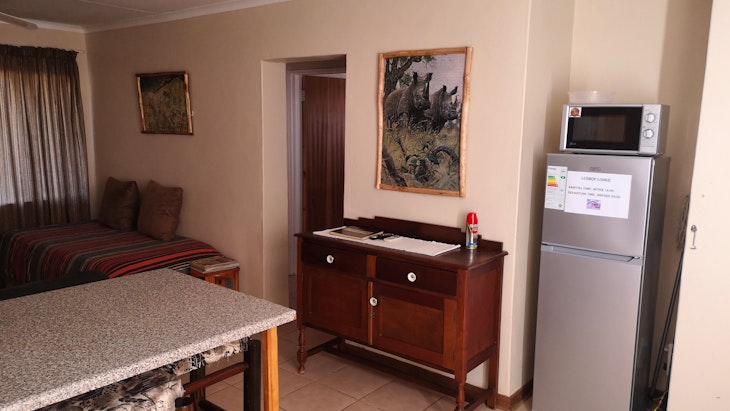
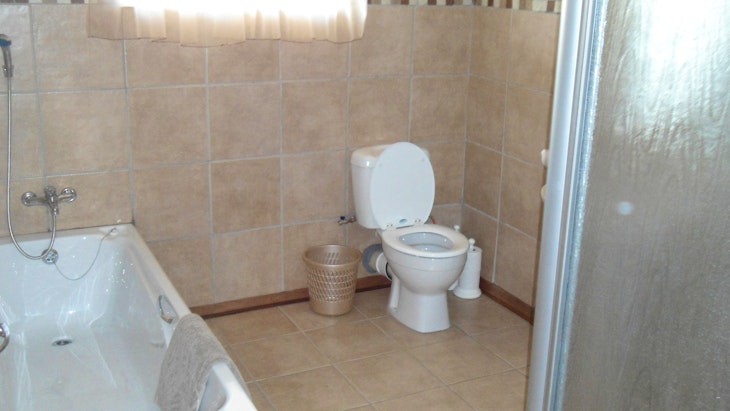
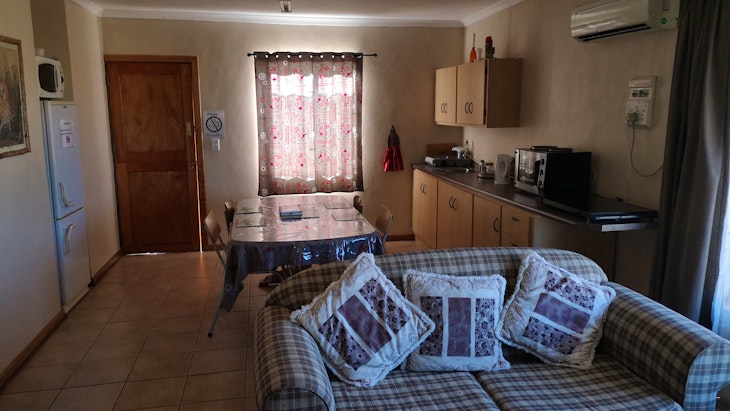
Lushof Lodge: Bottom Chalet
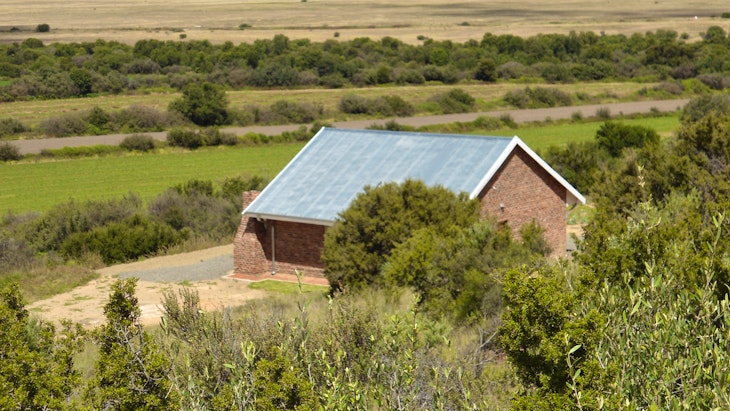
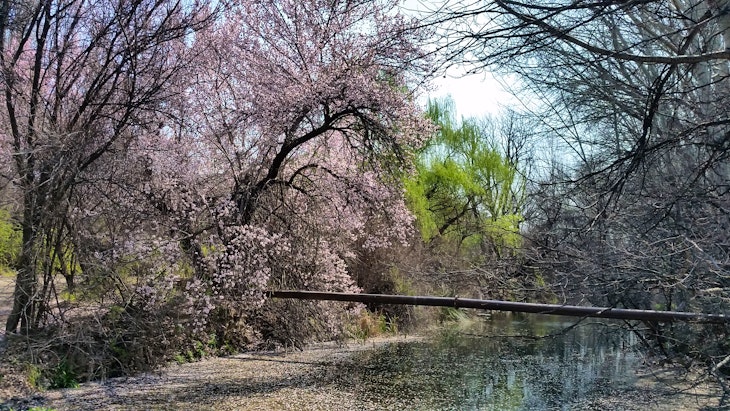
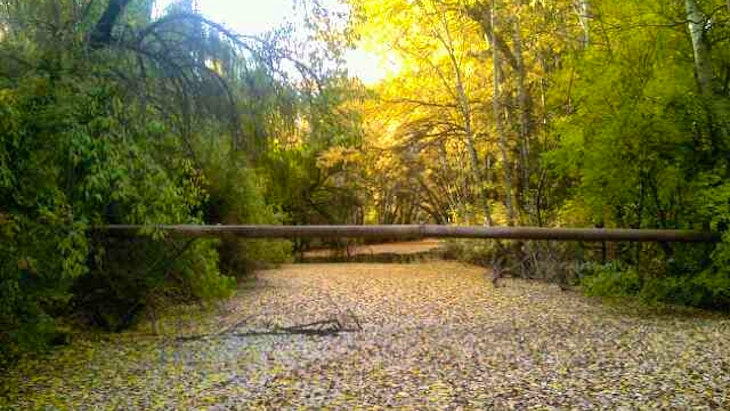
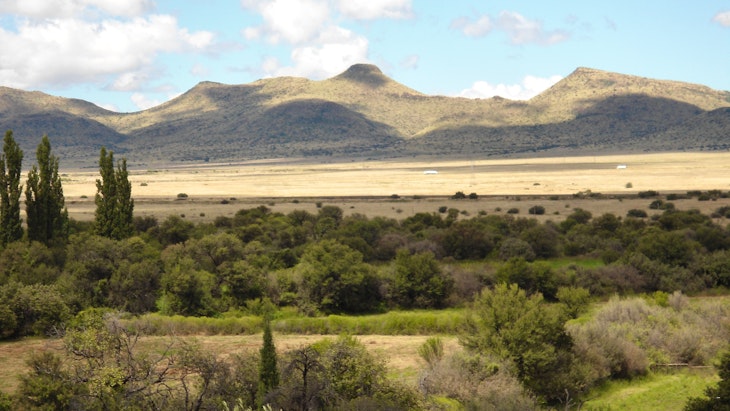
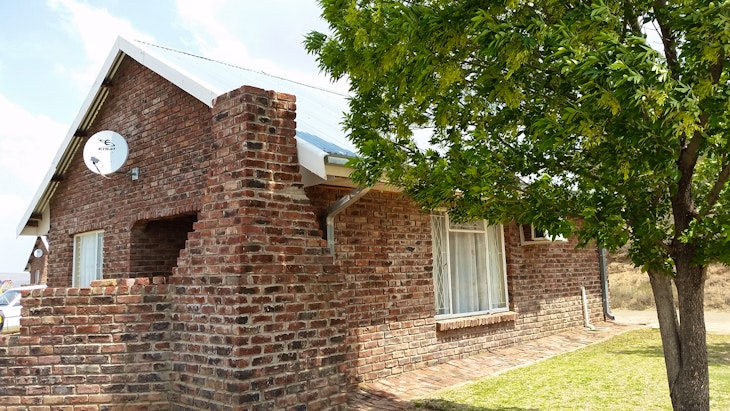
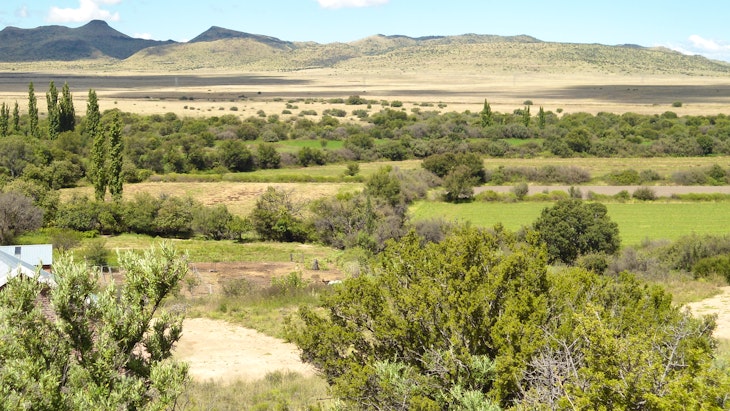
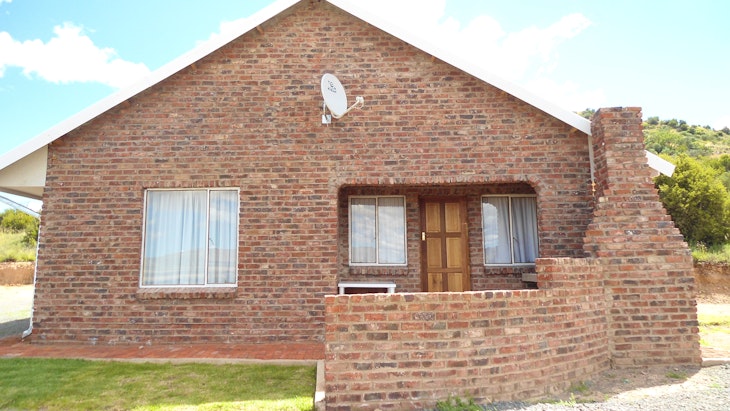
Lushof Lodge: Main Photos

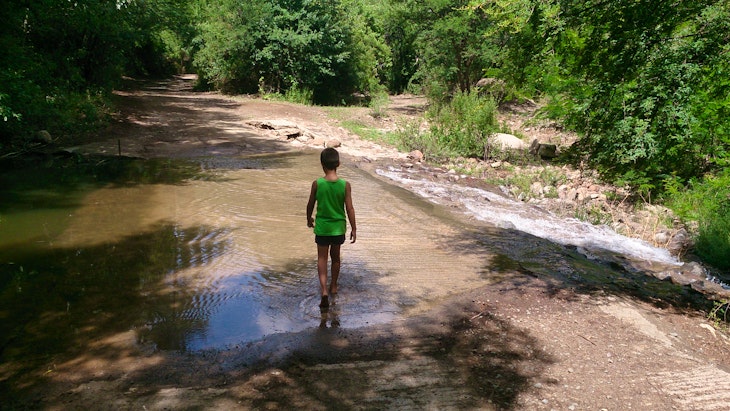
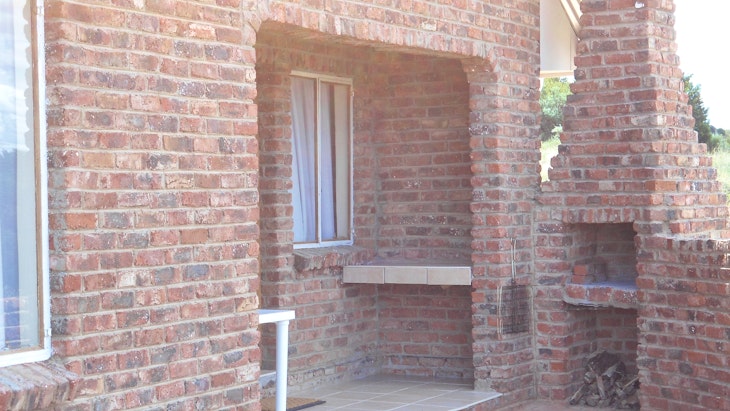
Lushof Lodge: Main Photos

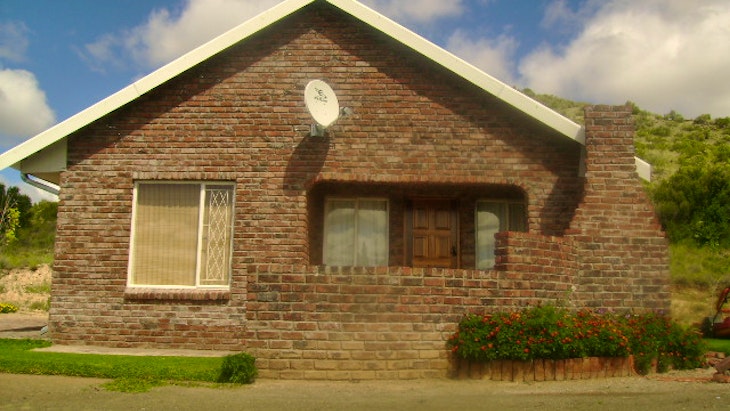
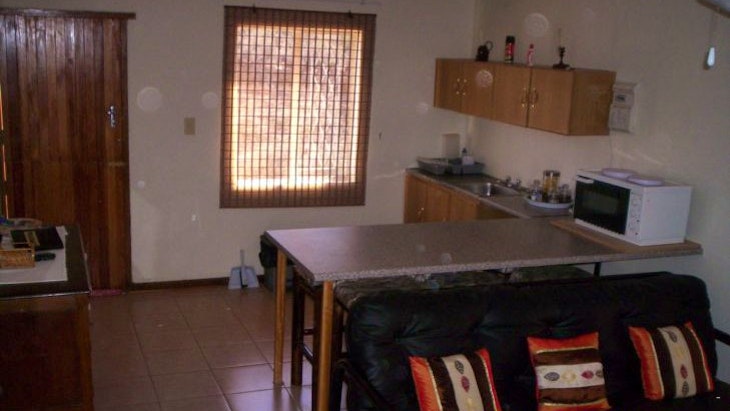
Lushof Lodge: Main Photos
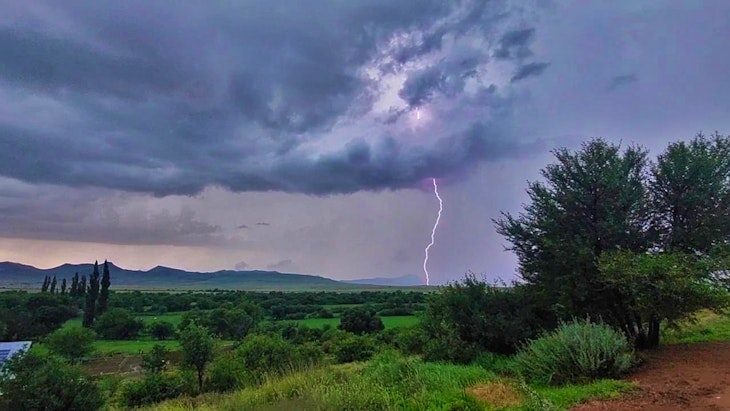
Lushof Lodge: Main Photos
Lushof Lodge: Main Photos

Lushof Lodge: Main Photos
Lushof Lodge: Main Photos
Lushof Lodge: Main Photos
Lushof Lodge: Main Photos
Lushof Lodge: Main Photos

Lushof Lodge: Main Photos

Lushof Lodge: Main Photos

Lushof Lodge: Main Photos

Lushof Lodge: Main Photos

Lushof Lodge: Main Photos

Lushof Lodge: Main Photos

Lushof Lodge: Main Photos

Lushof Lodge: Main Photos

Lushof Lodge: Main Photos

Lushof Lodge: Chalet 1
Lushof Lodge: Chalet 1

Lushof Lodge: Chalet 1
Lushof Lodge: Chalet 1
Lushof Lodge: Chalet 1
Lushof Lodge: Chalet 1
Lushof Lodge: Chalet 1
Lushof Lodge: Chalet 1
Lushof Lodge: Chalet 1
Lushof Lodge: Chalet 2

Lushof Lodge: Chalet 2
Lushof Lodge: Chalet 2
Lushof Lodge: Chalet 2
Lushof Lodge: Chalet 2
Lushof Lodge: Chalet 2
Lushof Lodge: Chalet 2
Lushof Lodge: Chalet 2

Lushof Lodge: Bottom Chalet

Lushof Lodge: Bottom Chalet

Lushof Lodge: Bottom Chalet

Lushof Lodge: Bottom Chalet

Lushof Lodge: Bottom Chalet

Lushof Lodge: Bottom Chalet

Lushof Lodge: Bottom Chalet

Lushof Lodge: Bottom Chalet

Lushof Lodge: Bottom Chalet
Lushof Lodge: Bottom Chalet
Lushof Lodge: Bottom Chalet
Lushof Lodge: Main Photos


